EXERCISE 4: MODELING A KARAMBIT
Homework requirements link
https://docs.google.com/document/d/1u9dChS5dlZVG6K93jSTCjIjqjp8qb0P7kdAcj1cO1Ck/edit?usp=sharing


Classroom teaching records


MModel a dagger’s handle and blade
1. Preparation
• Open Blender and delete the default cube (press X to delete), getting ready to start modeling.
• You can set the scene to a scale suitable for a dagger, such as setting the units to metric (millimeters or centimeters).
2. Modeling the Handle
• Basic Shape of the Handle: Use a “cylinder” or “cube” as the basic shape for the handle. Press Shift + A, and choose “Mesh” > “Cylinder” to add a cylinder. Adjust its size to match the desired dimensions of the handle.
• Modify the Handle Shape: On the handle, use the “Scale (S)” tool to adjust the cylinder’s height and diameter, forming a basic handle shape, either cylindrical or square.
• Add Detail: You can add more cuts using the “Loop Cut” tool (Ctrl + R), further refining the handle’s shape to create curves that fit the hand comfortably.
• Sculpting Details: Switch to Sculpt Mode, and use the sculpting tools to add detail, like curves and textures, simulating the comfort of holding the handle.
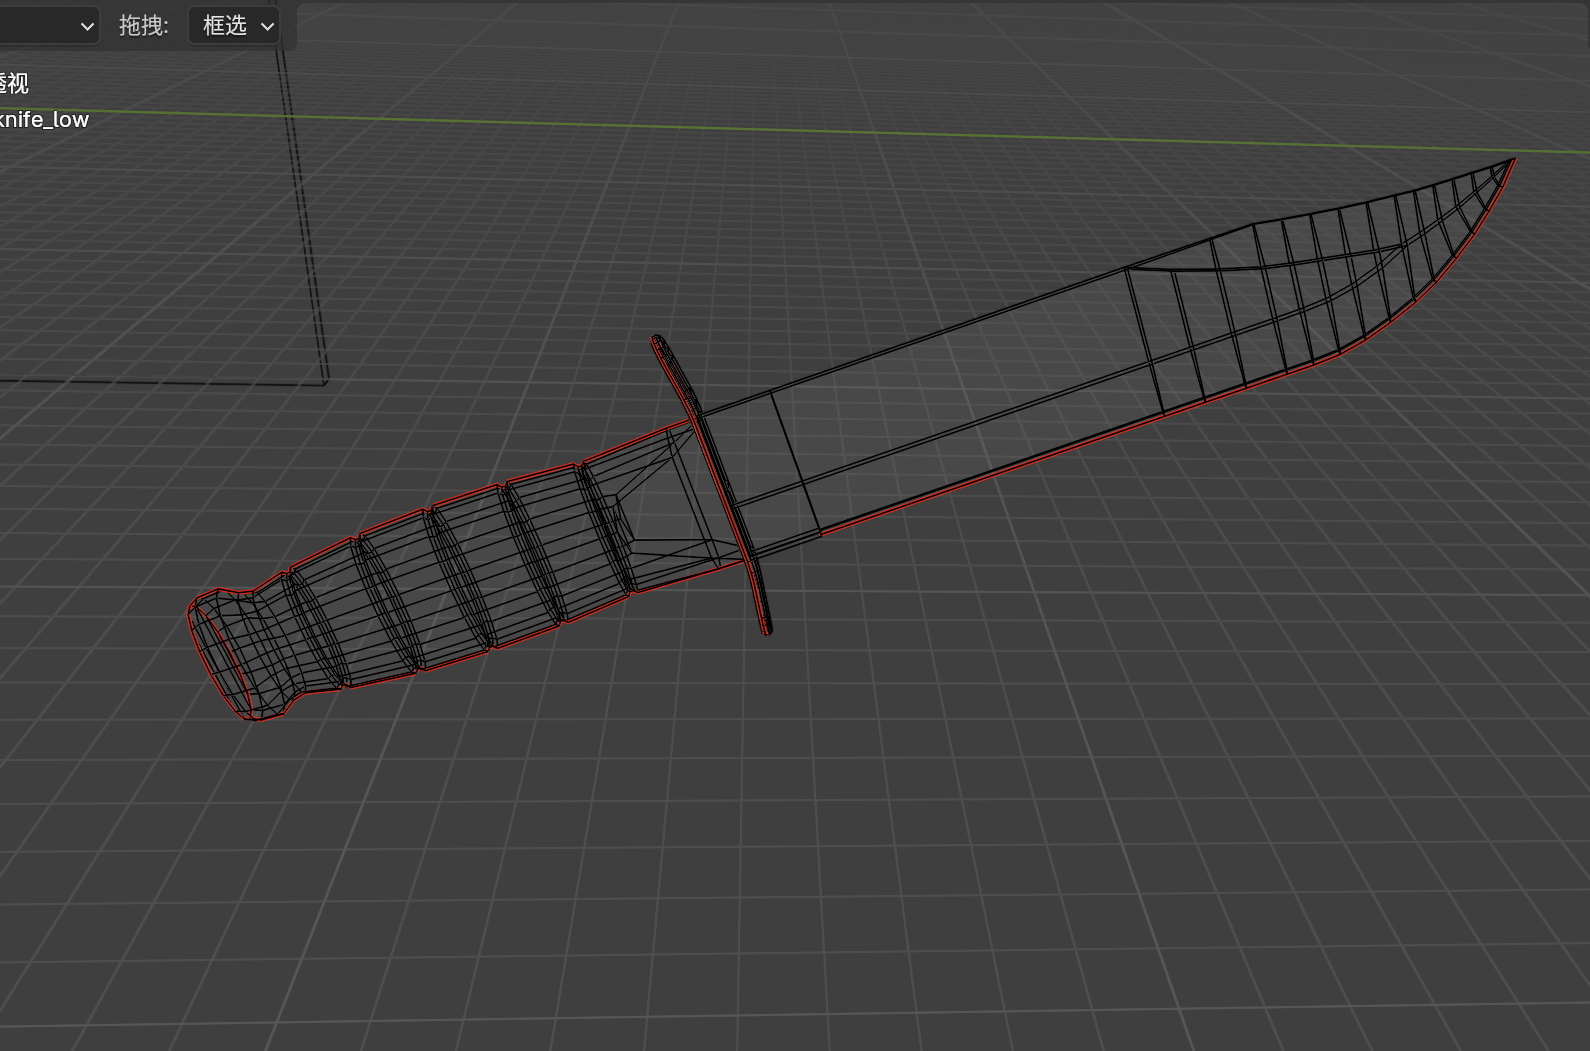
3. Modeling the Blade
• Basic Shape of the Blade: Start with a “cube” or “cylinder” to create the base shape for the blade. Press Shift + A, select “Mesh” > “Cube” to add a cube, and then use the S key to scale it into the rough shape of the blade.
• Blade Detail: Enter Edit Mode (Tab key), and use the “Loop Cut” tool to add details such as the curve of the blade and the serrated edges.
• Blade Edge Shape: Use the “Knife Tool” (K) or the “Extrude” (E) tool to refine the edge of the blade, pulling both sides of the blade inward to create a sharp, tapering edge.
• Blade Thickness: Adjust the thickness of the blade to ensure it appears sharp in the right areas.
• Adding Chamfer to the Edge: Select the edges of the blade and press Ctrl + B to bevel them, creating smoother edges for the blade.
4. Combining the Handle and Blade
• Combine the handle and the blade into a single dagger model. In Edit Mode, select the blade and move it into position relative to the handle. Use the “Snap” function (press Shift + Tab to activate) to make sure the blade and handle fit together seamlessly.
5. Adding Detail
• Adding Textures and Materials: You can apply different materials to the handle and blade. For example, use wood or leather textures for the handle and metal for the blade. You can create realistic materials using Blender’s “Shader Editor.”
• Sculpting the Handle Texture: In Sculpt Mode, you can further add texture to the handle, such as lines or bumps, to simulate a gripping texture.
6. Rendering and Optimization
• Ensure the topology of your model is clean, with no unnecessary faces or detail.
• Use the “Subdivision Surface” modifier to smooth the model, giving it a finer appearance.
• Finally, set up appropriate lighting and camera angles for rendering, and use the “Cycles” or “Eevee” rendering engine for high-quality output.


Comments
Post a Comment